Migrating the XenDesktop Database from Access to SQL.
So it’s time to move your XenDesktop ‘Proof of Concept’ up to production but in haste, you installed everything to a nice little Microsoft Access Database. Fine for 1 server but if you plan on having multiple DDCs, you’re going to have to migrate this up to SQL. Luckily Citrix has DSMaint to help. The same command that helped us move Datastores in XenApp deployments will now also help us move the XenDesktop Datastore.
|
|
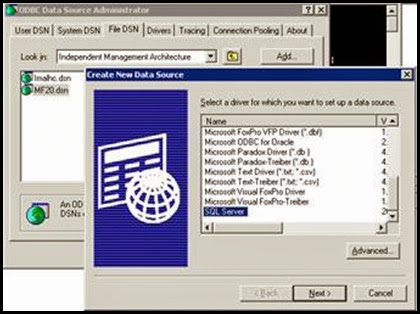
From the XenDesktop DDC, create a new ODBC connection FILE. Select the SQL driver for this connection. |
|
|
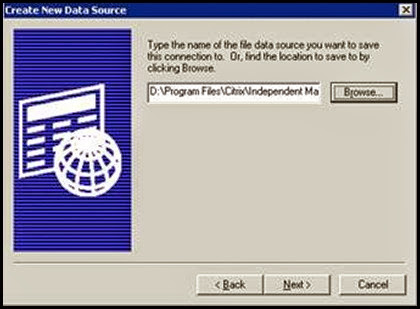
MF20.DSN currently points to the Access Database so MF20SQL.DSN will be used. |
|
|
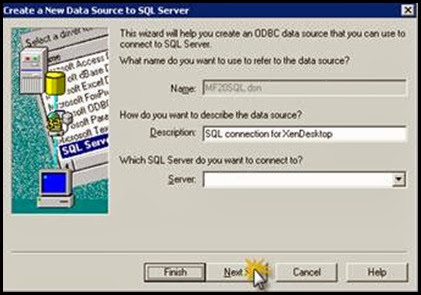
Create new SQL connection. Enter the SQL server you will be using for the XenDesktop Datastore.
Note: You should have already created the database on the SQL server at this point. |
|
|
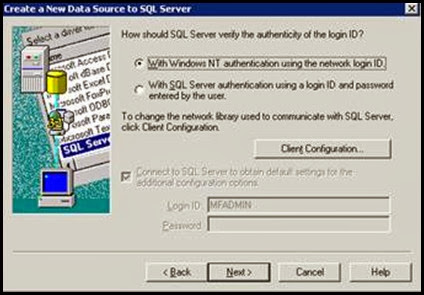
Windows NT authentication is fine. Make sure the AD user has appropriate access to the SQL database. |
|
|
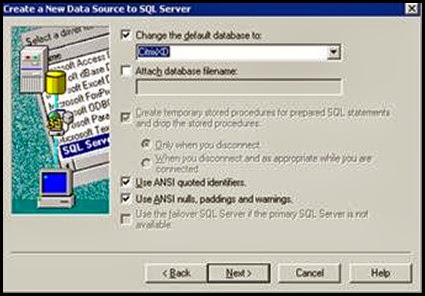
Be sure to select the XenDesktop Database that has been created by your SQL administrator. Default Database: Select the Default database for your XD deployment.
NOTE: This database should have been created already. |
|
|
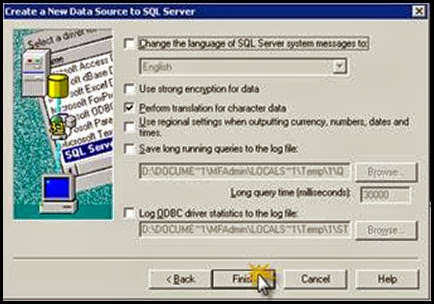
Select Finish to complete the DSN setup. |
|
|
Run the DSMaint command to Migrate the information over to the new SQL database. DSMAINT MIGRATE /srcdsn:<OLD DSN PATH> /srcuser:<username> /srcpwd:<pwd> /dstdsn<NEW DSN PATH> /dstuser:<username> /dstpwd:<pwd> |
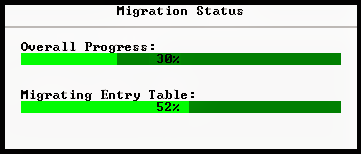 |
Verify that the Migration went smoothly. |
Once the database has been migrated up to the SQL server, the individual DDCs must be reconfigured to use the new database. DSMAINT CONFIG will be the command to reconfigure the DDC.
DSMAINT CONFIG /dsn:"C:\Program FilesCitrixIndependent Management ArchitectureMF20SQL.dsn" /user:DOMAINUSERNAME/pwd:PASSWORD.
This command needs to be run on each DDC. Once run, the DDC needs to be restarted for the change to be completed. Make sure the DSN is created on each DDC pointing to the new SQL server.


