Home Assistant Smart DIY Basketball Backboard Project

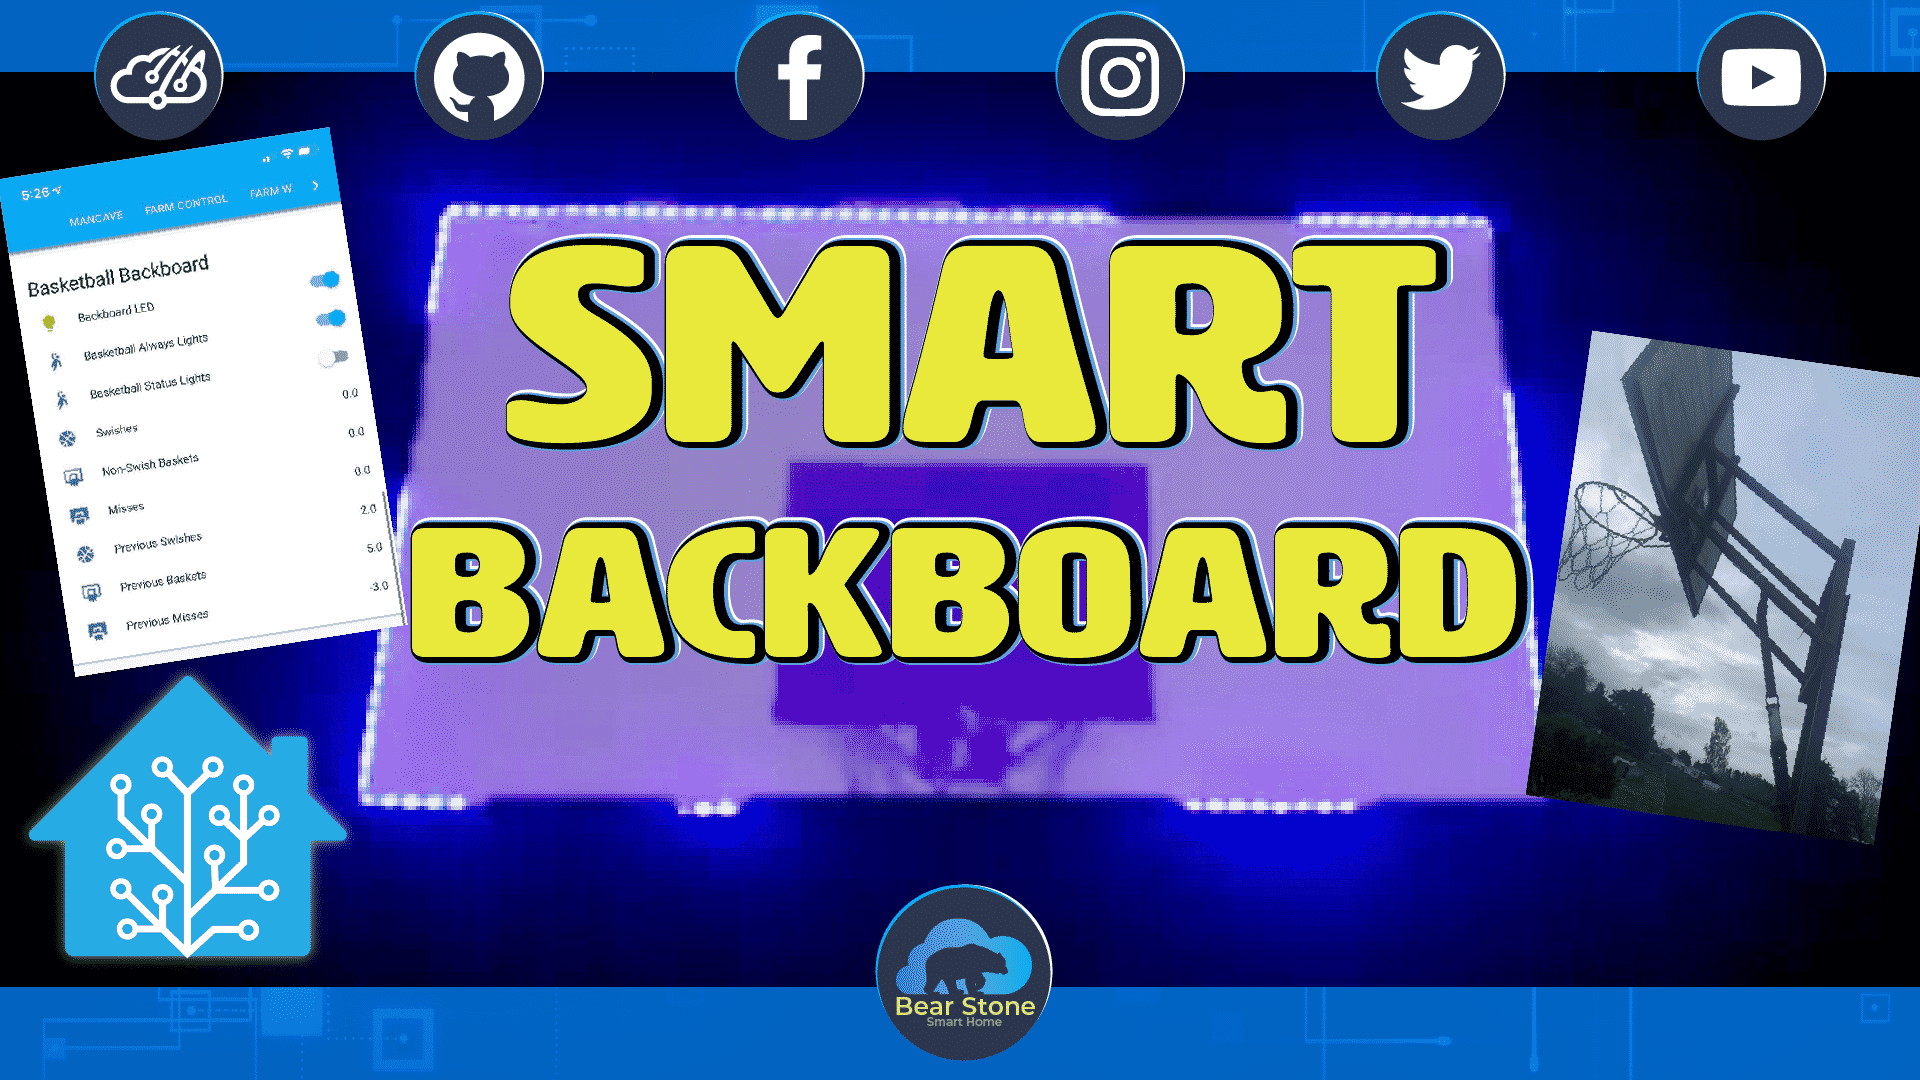
This project was created by Jeremy Shephard. It is an awesome Basketball Backboard project that not only adds customizable LEDs to it but also allows you to track shooting stats in Home Assistant. Swishes, Bank, and missed shots will be logged in the database and can be used as triggers or conditions in Home Assistant Automations. The part list is below and costs around 25 bucks depending on what spare parts you have laying around.
Part List
- Infrared Photoelectric Sensor E18-D80NK – https://amzn.to/35Ilawj
- XL4016 Step-Down Buck Converter Power module – https://amzn.to/32oLeKM
- ESP8266 D1 Mini Development Board – https://amzn.to/35u7OUb
- SW 420 Motion Vibration Switch Sensor – https://amzn.to/33o2TBp
- RANDOM Basketball Hoop – This project might be cool for mini baskets as well.
- LED Addressable Lightstrips
Project Description
With the parts in hand, this project breaks down into 2 systems really. The vibration sensor and the infrared sensor. Jeremy uses the infrared sensor to determine if a basket is scored by testing for breaks in the beam and the vibration sensor to determine if the shot was a bank shot or miss. No air ball detection currently which is good since you don’t really want to see those stats pile up. 😉


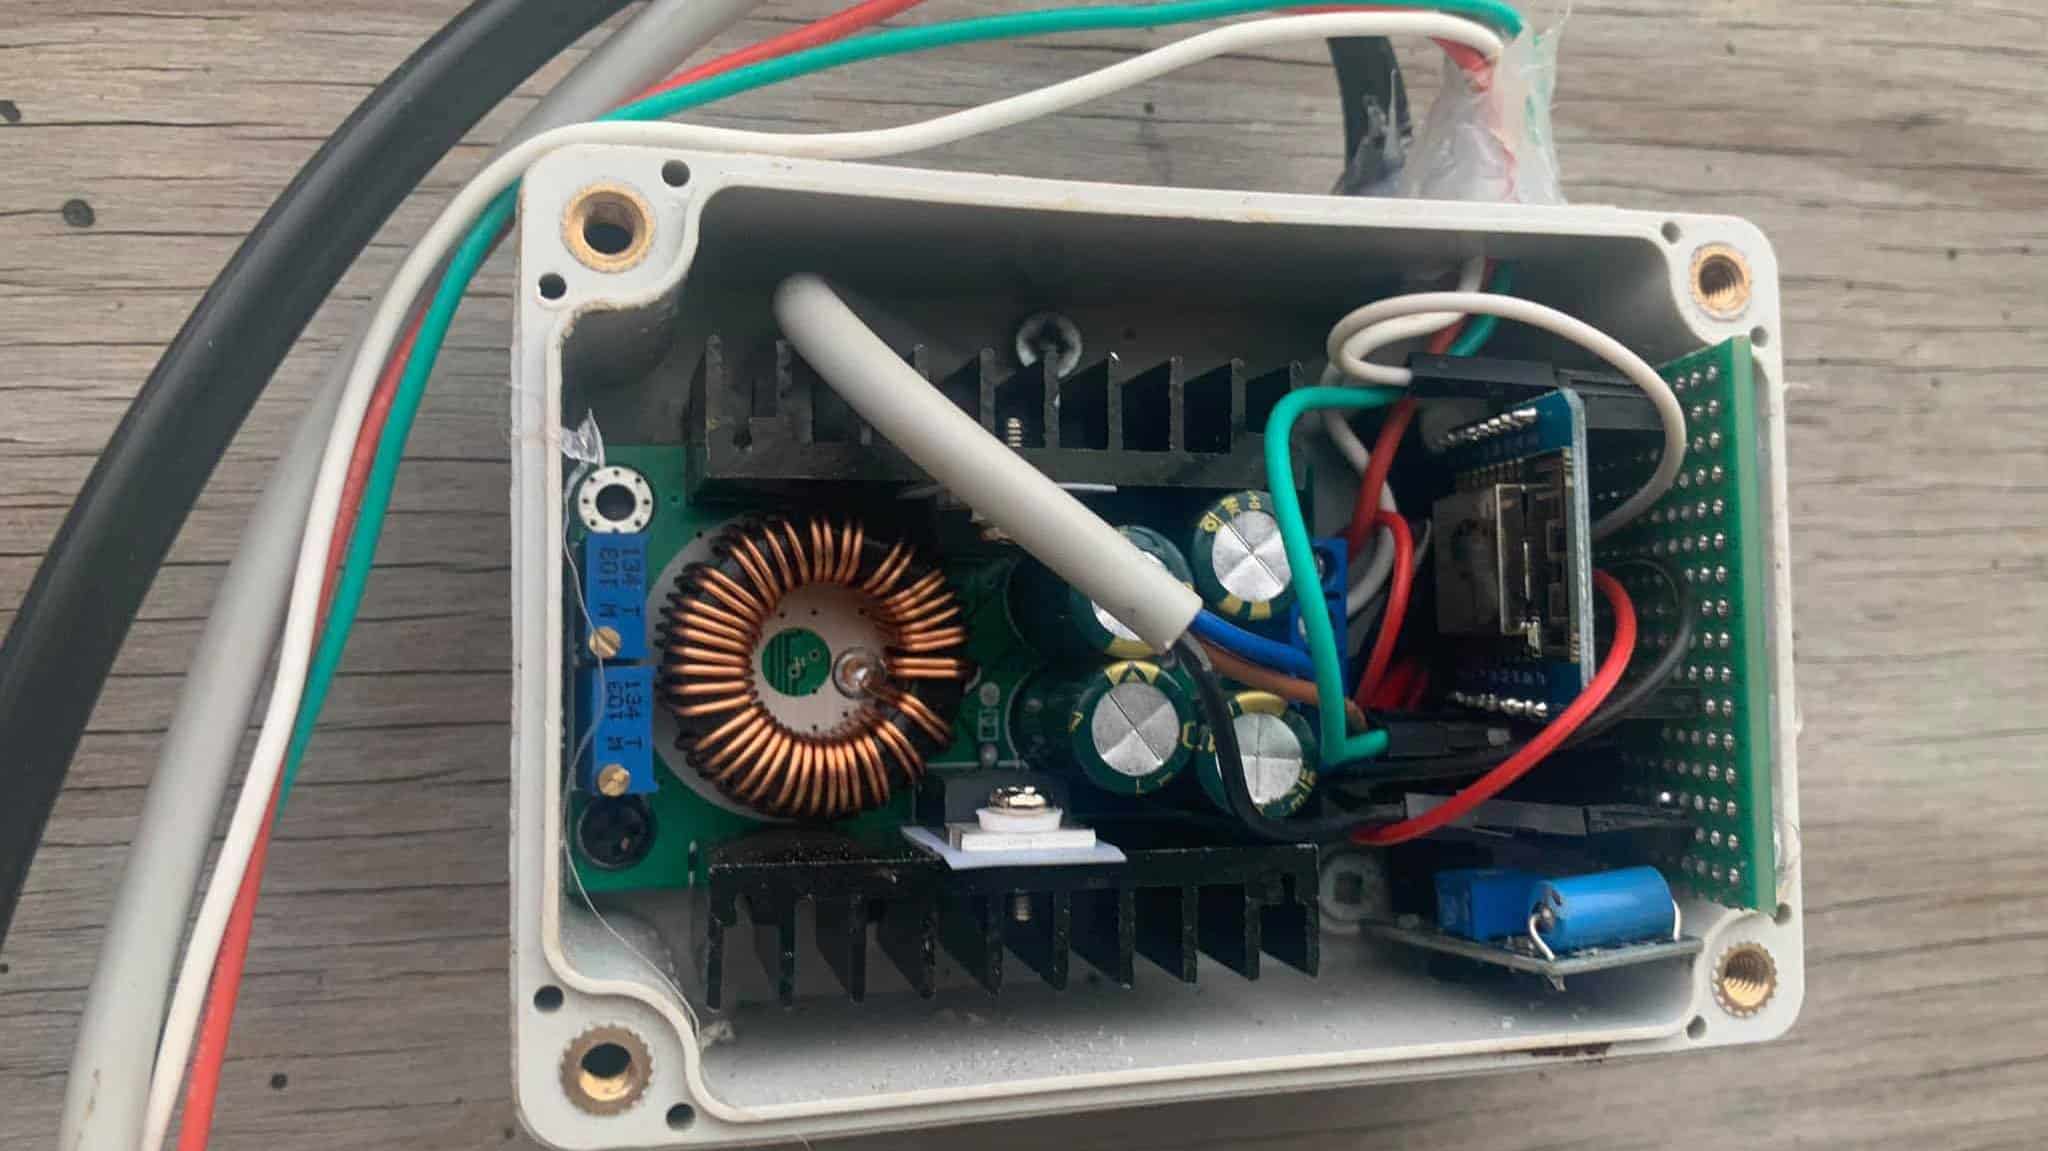
All of the main components are located in a waterproof project box with a little silicon along the top. All of the parts fit nicely in this box. The mains AC come in and are wired to the Buck converter and the infrared sensor is wired into the D1 Mini along with the vibration sensor that is inside the box.

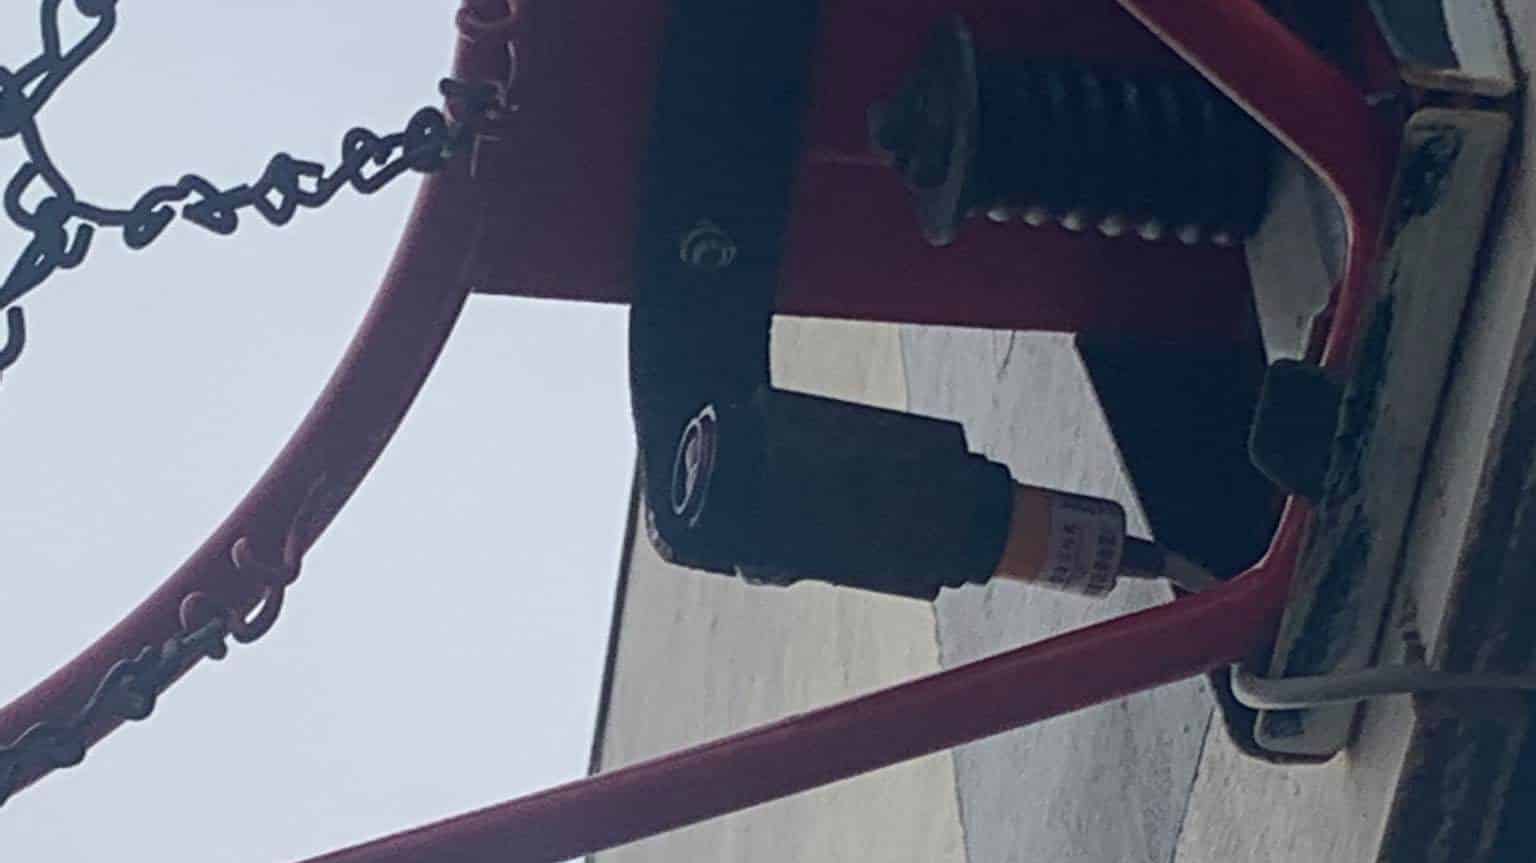
The infrared sensor is placed under the hoop to track when the ball croses the beam after going through the hoop.

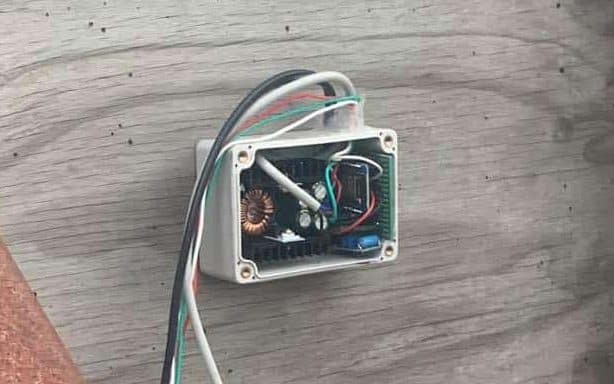
The entire project box is mounted on the back of the backboard in order to capture all of the vibrations from the ball hitting the backboard.

For the D1 Mini, Jeremy is using an ESPHome configuration. You can find the code he is using here. The code defines all of the sensors, LED lighting effects, and counter logic to track shots. It also has the effects to display when shots are taken. Red for misses, green for shots, etc..
You can add more effects for the hoop easily by extending the YAML code.
Video
Check out the video below for demos and a closer look at the project. At this time we do not have a wiring diagram but as soon as we create one, I will update this post. For now, take the inspiration and run with it!
Happy Scoring!
– Carlo

