Best Practice – PC Printer Connection Configurations

Printer issues, printer issues, printer issues. If you have ever set up printers in your workplace, you know they are nothing but helpdesk ticket generators. Here are some best practices related to printers connections that have floated through my inbox.
Network Segmentation
Sometimes when setting up printers or printer connections, corporate environments have their networking segmented. Clients on one network (wired or wireless) and printers in the infrastructure segment with distinct DHCP ranges (or none at all). Be sure to verify that printers are getting appropriate addresses and that there is full connectivity between the Printers and the endpoints trying to connect to them. This could be thin clients, RDS servers, VDI VMs, or physical PCs/Laptops.
Connecting to the network
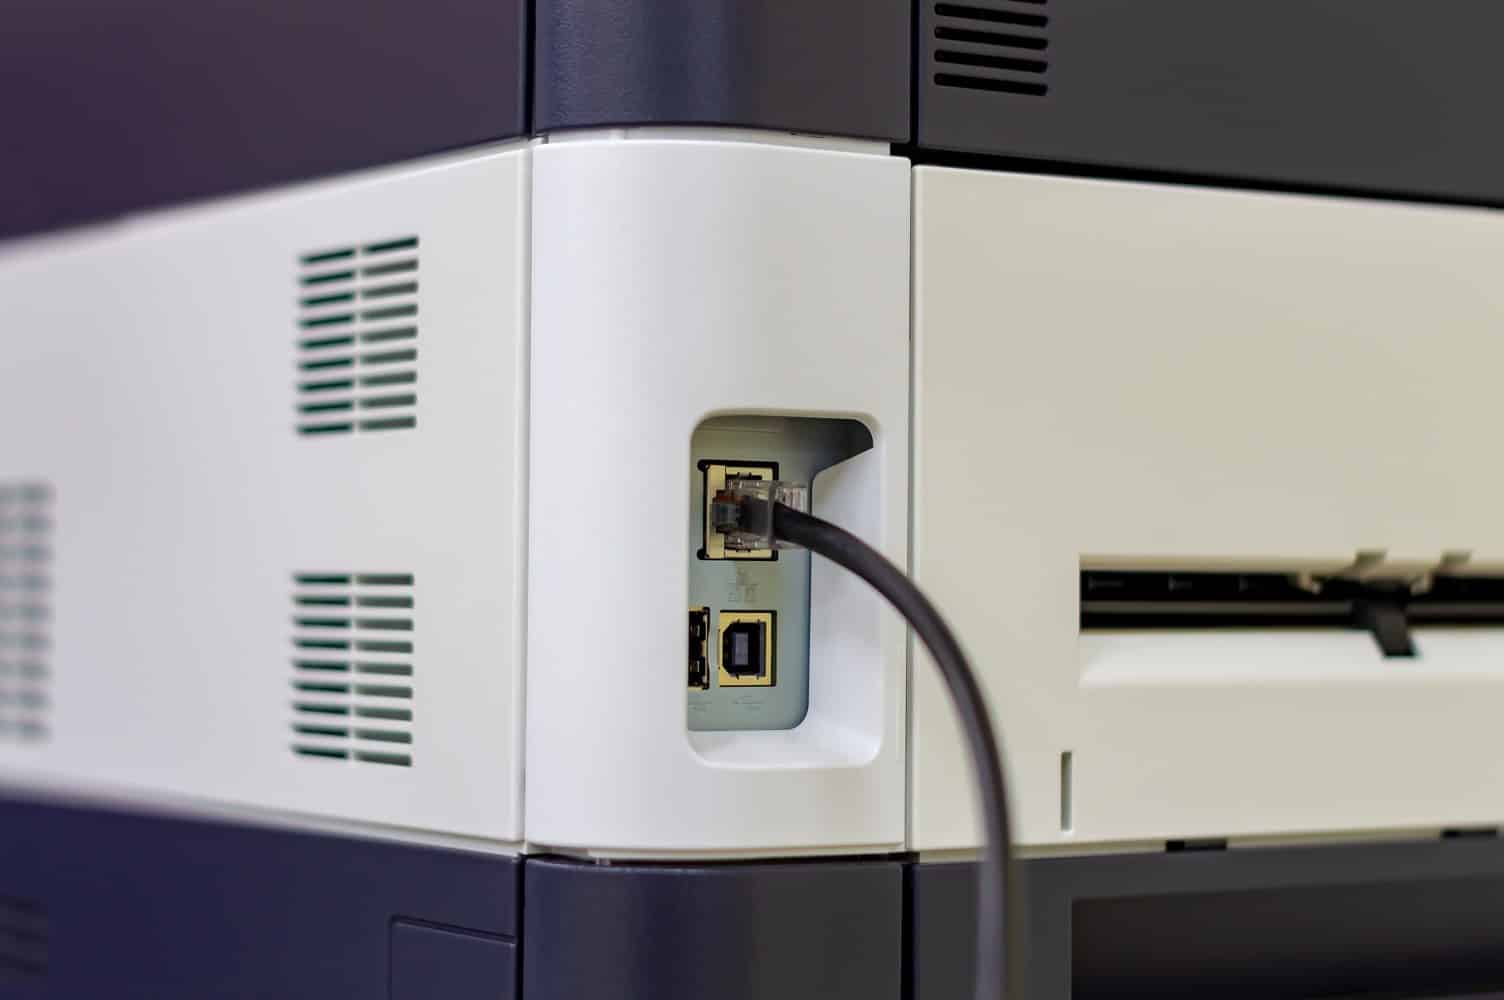
Speaking of the printer’s networking, the printer(s) should preferably be connected to ethernet whenever possible for performance and stability.
When configuring a laptop’s connection to the corporate WiFi, you must ensure that the option to turn on “network discovery” is selected, which registers that network as Private rather than Public (the Windows firewall will otherwise likely prevent printing from WiFi, among other things). If the network discovery option was not selected when first setting up the network connection, use the Settings app to change the WiFi network from Public to Private.
How to Fix WiFi interference with WiFi Analyzer
If you have a Smart Home, access to reliable power and reliable internet are critical to the reliability of your IOT devices. I’ve discussed and tackled my power issues in prior posts so this post will be about the steps I took to ensure more reliable internet access for my IOT devices. Not so much […]
Ethernet network connections also sometimes get classified by Windows as “Public” – they can be changed to “Private” in the Settings app the same way as with WiFi.
Manual Printer Network Configuration
As soon as you can ascertain a target printer’s IPv4 address (via a printout of its network config or auto-discovery from a laptop using the vendor’s printer config utility while connected to Ethernet, for example HP Smart), navigate to it using either a browser or the vendor config utility, locate the network configuration area, and turn OFF IPv6 support. [If you allow Windows to autodiscover the printer as a WSD device using its self-assigned IPv6 address, chances are you will not be able to print from WiFi – in fact, automatic WSD connections are often problematic even if the printer was discovered on IPv4, so what follows is my recommendation to configure the printer “semi-manually” using an IP (v4) printer port].
With these preliminaries taken care of, remove any auto-discovered instances of the printer from Control Panel | Devices and Printers – we’re now creating the persistent printer connection “from scratch”.
Still in Control Panel | Devices and Printers, select “Add a printer”, then immediately in the next dialog “The printer that I want isn’t listed” (regardless of whether or not it is in fact listed), then “Add a printer using a TCP/IP address …”, and add the previously determined printer IP address in the next dialog (the port name will automatically be the same as the IP address, unless you feel the need to change it), and continue to the end of the wizard. With most major vendors, Windows will be able to query the printer model and install an appropriate driver. If not, the rest of that wizard will let you do it manually. NOTE: you will need local admin credentials to elevate some of these actions, so make sure you have these at the ready.

Note that printer connections created in this manner are available to any user, so you don’t necessarily have to do this while logged on as the user (assuming you have permission to independently access the computer).
Conclusion
Although there are a lot more things you can do when setting up a PC / Printer connection, these simple steps have proven themselves to be extremely useful in the environments I have worked on.
Happy Printing!
– Carlo

